
Hatteringill Head - Lake District Walk
Wednesday 7th July 2010
Another late afternoon start after a morning of showers saw us take a gentle and sunny walk to claim the one fell we had missed out a few years ago when we had last visited the Fellbarrow group. The introduction of Open Access since our previous visit meant that we could plan a circular route, rather than the out and back route that had previously been required in order to include the mighty summit of Hatteringill Head.
Start: Thackthwaite (NY 1482 2355)
Route: Thackthwaite - Sourfoot Fell - Smithy Fell - Fellbarrow - Hatteringill Head (296) - Thackthwaite
Distance: 3.5 miles Ascent: 307 metres Time Taken: 2 hours 30 ins
Terrain: Good paths.
Weather: Warm and sunny.
Pub Visited: Middle Ruddings, Braithwaite Ale Drunk: Unknown
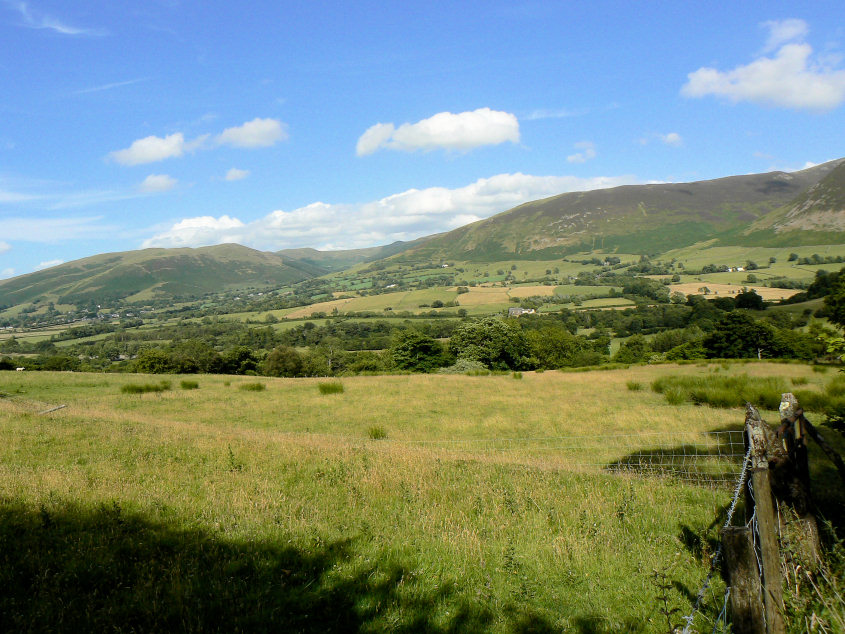
Blue sky as we start to climb out of Thackthwaite and the Whinlatter Fells come into view.
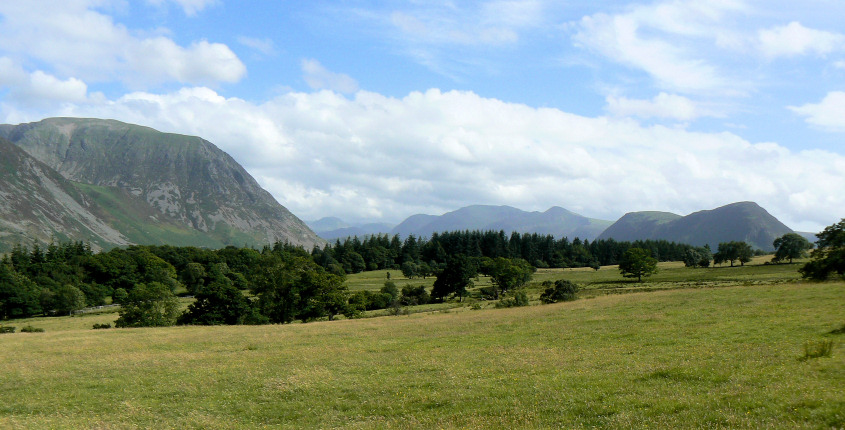
In the opposite direction Mellbreak and the High Stile ridge are visible.
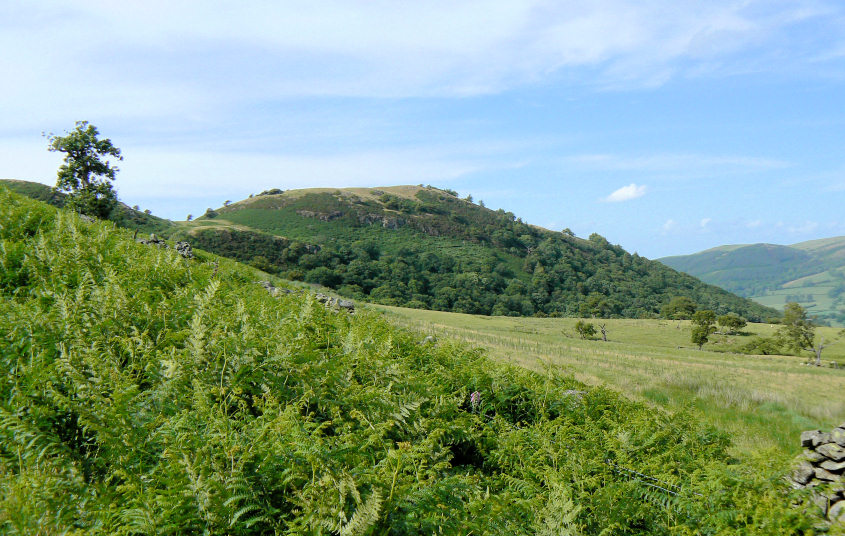
Broadmoor Hill, which isn't part of our route today.
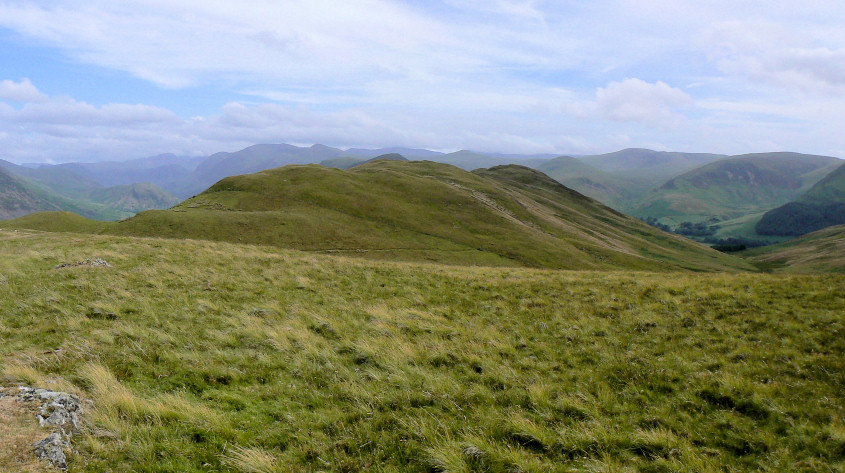
Having followed the path around Watching Crag we turn off and head for Sourfoot Fell rather than continue straight ahead to Low fell.
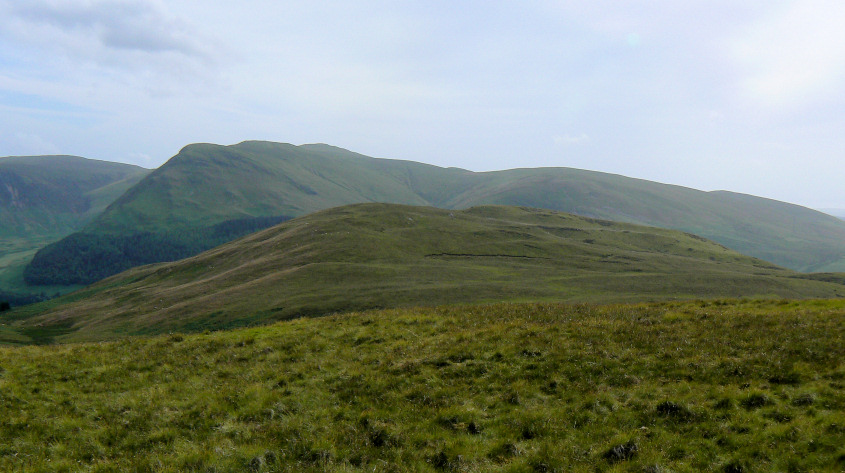
Burnbank Fell and Carling Knott, seen across Darling Fell. The last time we were up here we were in the clouds and had no views so it's nice to see what we missed out on.
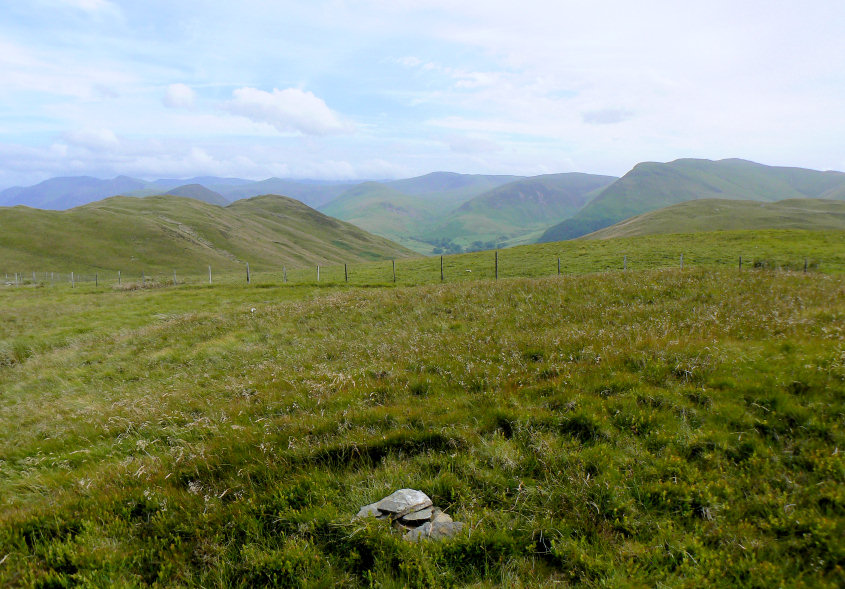
Sourfoot Fell's summit.
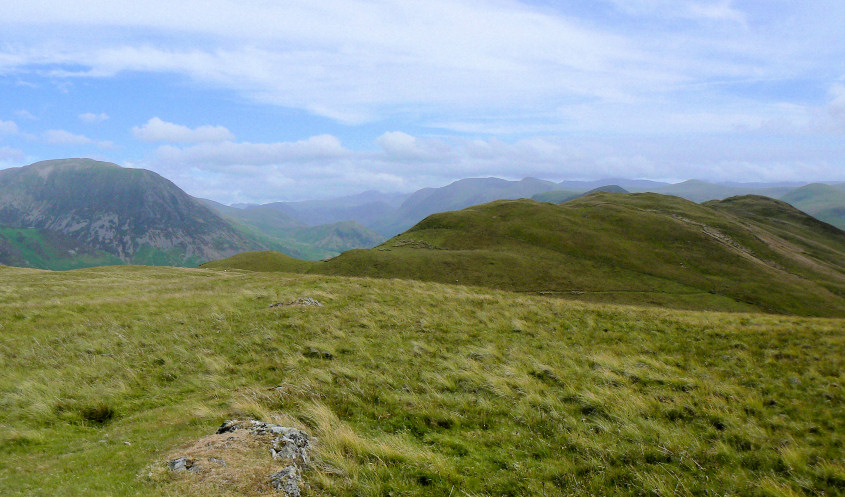
Looking back across Low Fell towards Rannerdale Knotts from the summit.
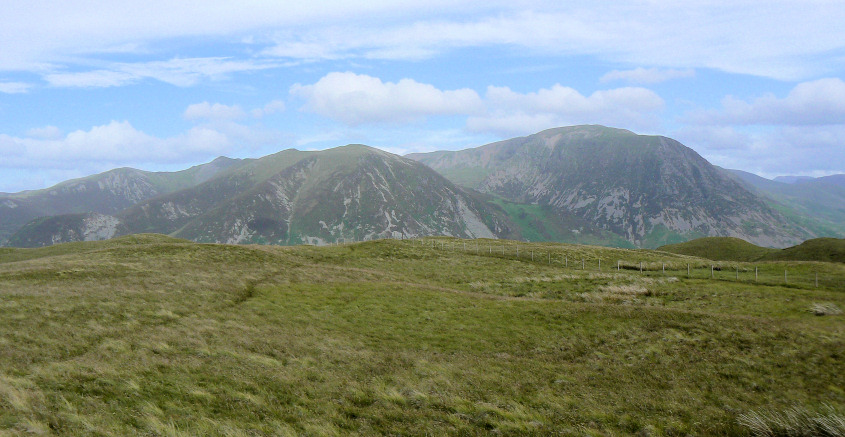
Whiteside and Grasmoor dominate the view.
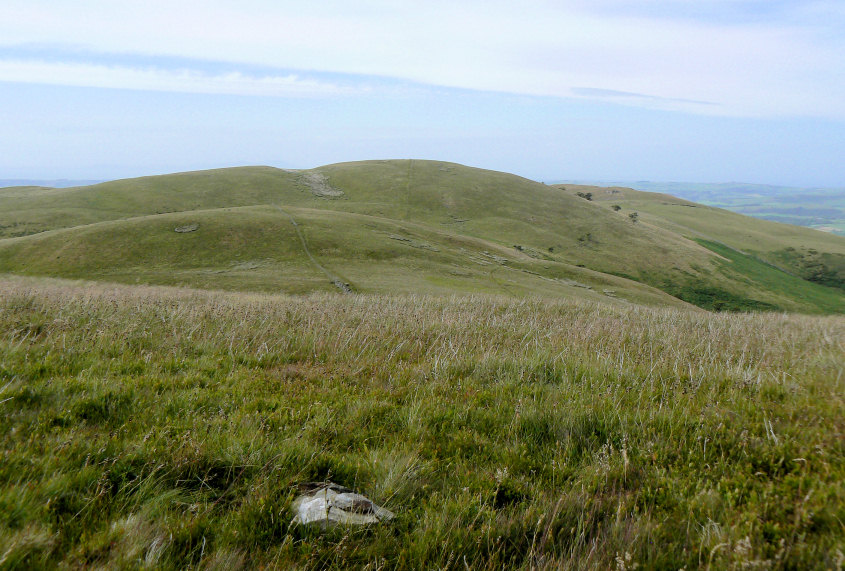
Fellbarrow seen across Smithy Fell, but first there was a surprisingly steep descent before the next summit could be reached.
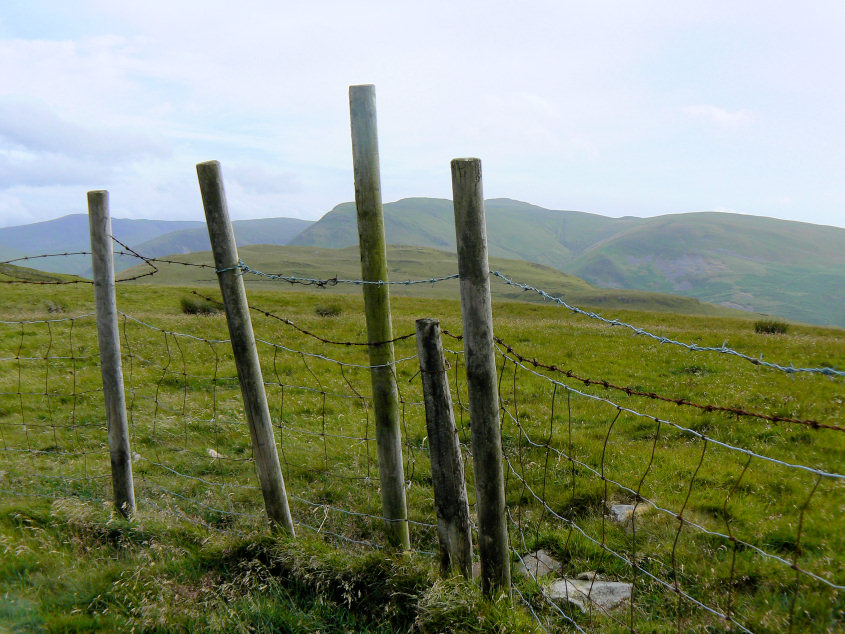
Smithy Fell's summit.
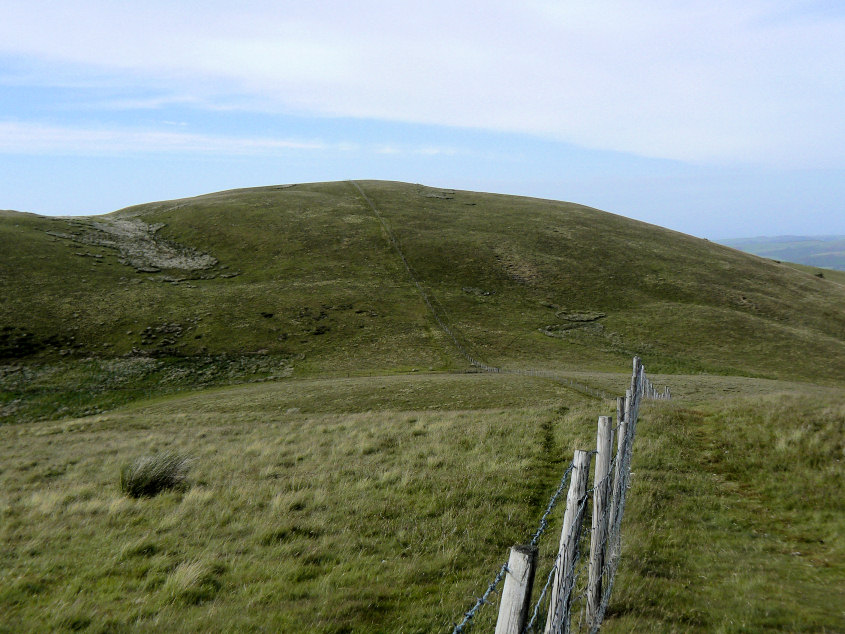
Getting to Fellbarrow from Smithy Fell is easy, just follow the fence.
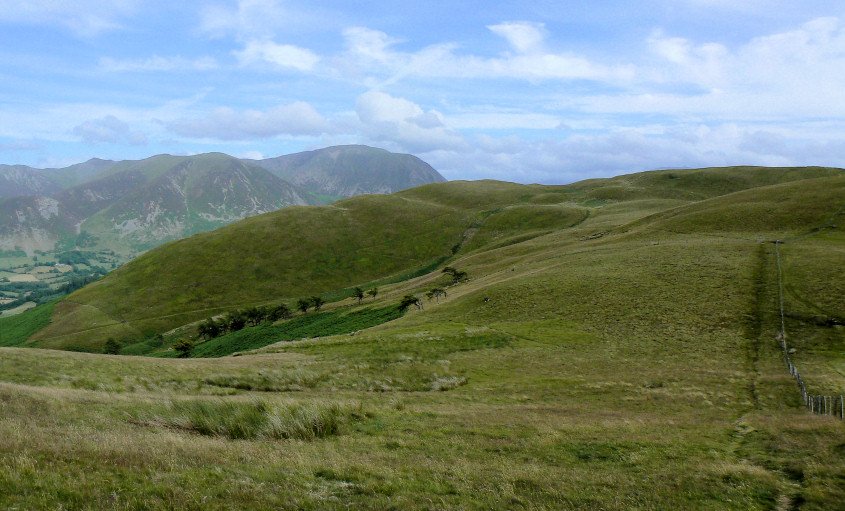
The path we followed at the start of the walk is clearly visible from the path up onto Fellbarrow.
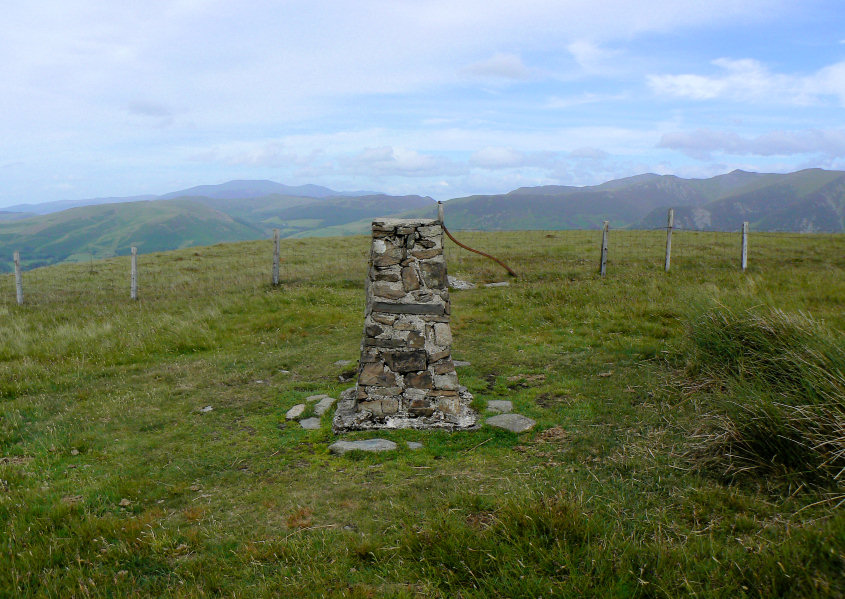
Fellbarrow's summit trig.
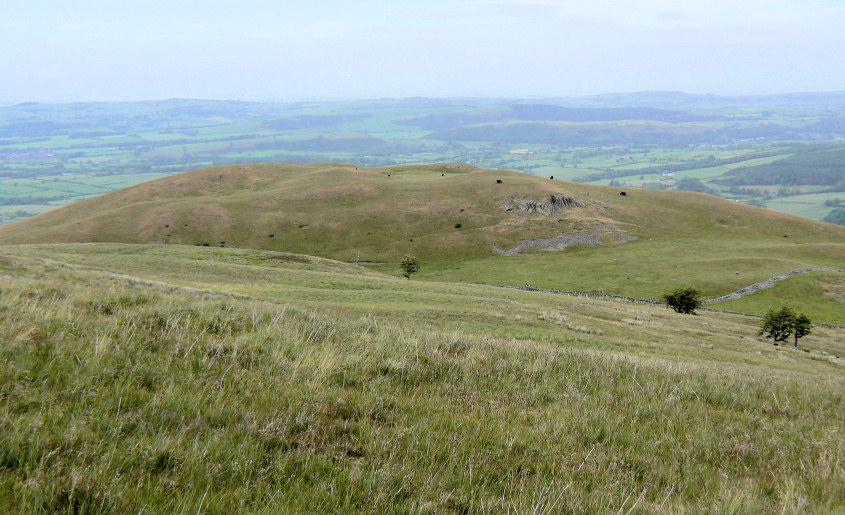
Hatteringill Head from Fellbarrow, the black dots are cows.
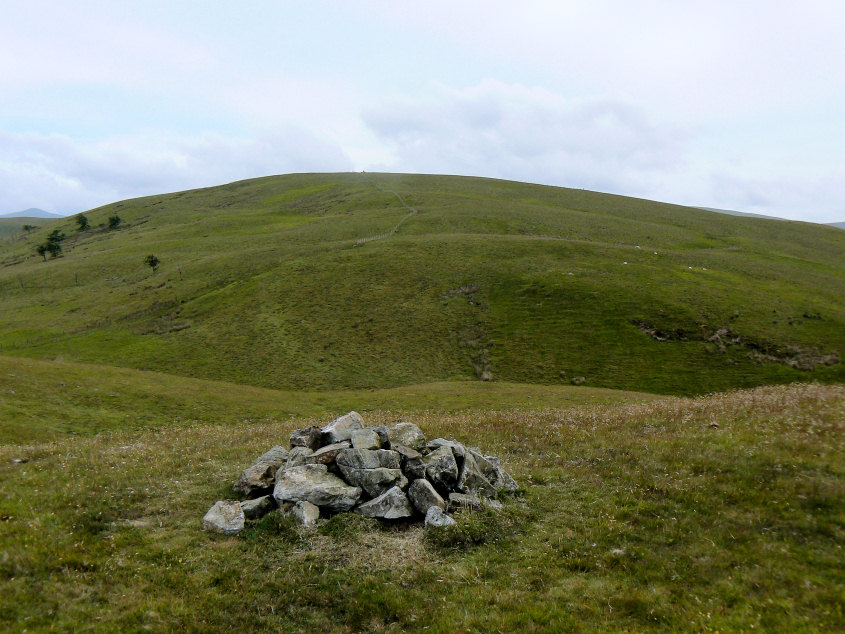
The easy walk across to Hatteringill Head had us wondering why we'd missed it out last time.
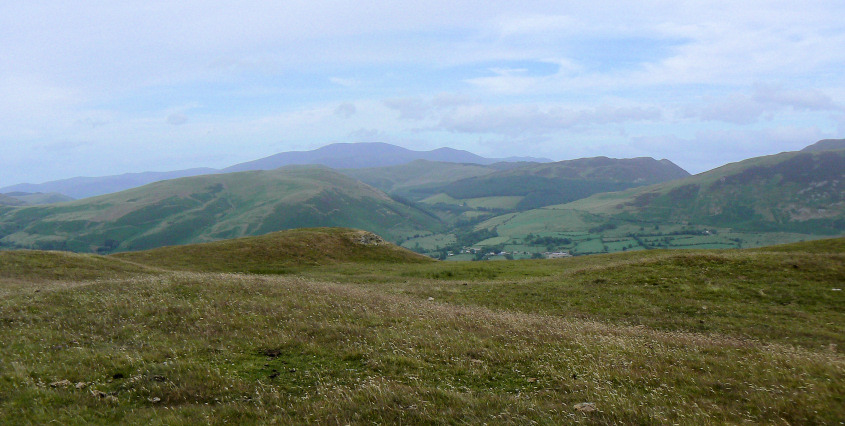
Looking across the Whinlatter Fells to Skiddaw from Hatteringill Head's summit.
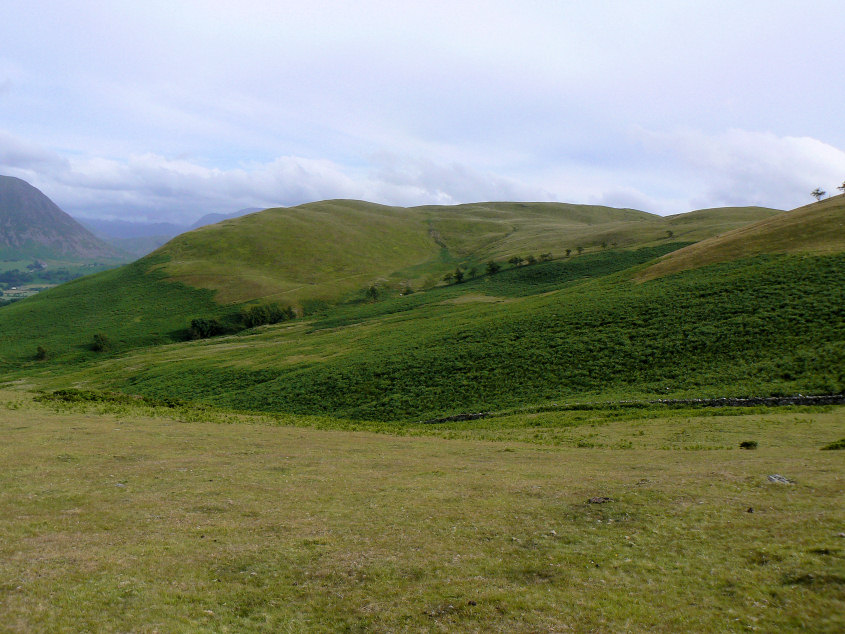
All that remains now is to find the route down off the fell.
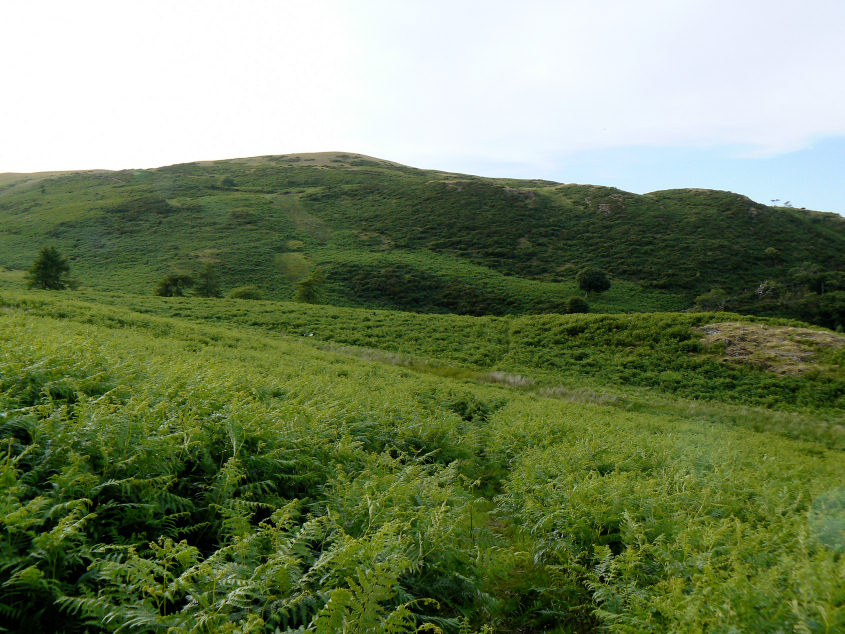
Not surprisingly it soon turned into a meander through ferns, which thankfully weren't yet at my head height.
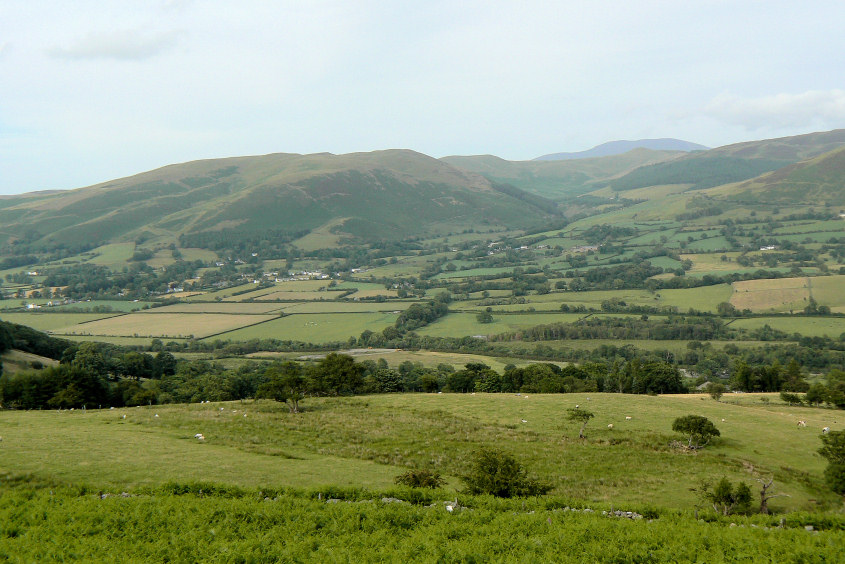
A final look across Lorton Vale as we regain the path we used at the start of the walk.
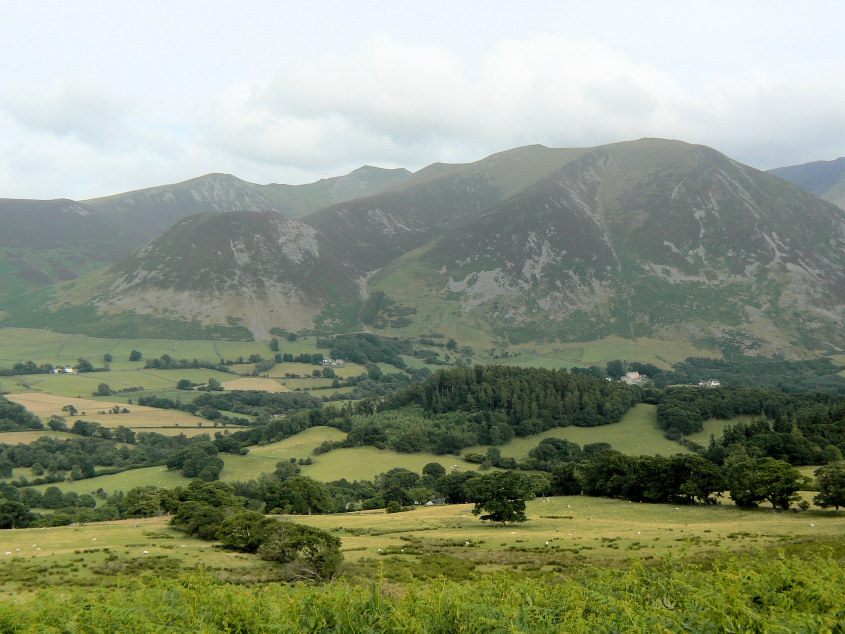
Whiteside and Hopegill Head across the valley.
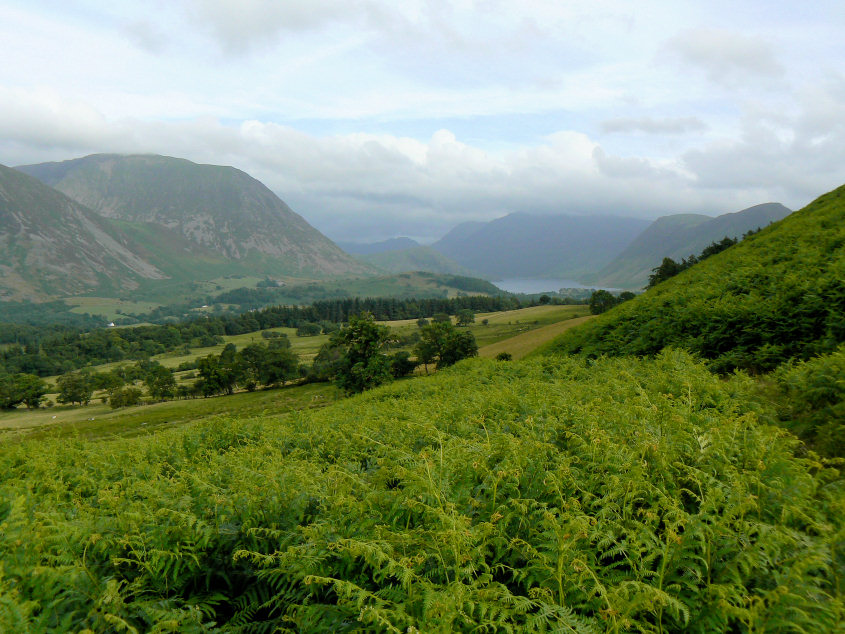
Crummock Water comes into view as the clouds start to catch the tops of the higher fells.
All pictures copyright © Peak Walker 2006-2023